We kick off a brand new series of LOUD WOMEN how-to guides for DIY musicians with a look at home recording from Ella Patenall of Naz & Ella. Words that appear in bold the first time they are used in the text are explained in the Glossary at the bottom of the page.

Before the digital age, you’d have had to be signed to a label or save up hundreds or even thousands of pounds to record your music. Today, it’s easier than ever to record at home and, with a reasonable initial investment, you can start recording good quality music at home.
With the average hour of recording in a studio costing £40, plus the expense of getting your track(s) mixed and mastered, professional recording adds up fast and is not feasible for everyone. However, with the vast amount of low-cost equipment and software out there, it is becoming easier and easier to set up home recording spaces to record your music.
I’m in a duo, and during the first lockdown, we decided to set up a basic recording space at home. We were apprehensive, knowing we would need to purchase a few bits and pieces, figure out a space, and learn how to use Logic. But diving into home recording was the best thing we ever did for our music and I want to share my experiences and advice on recording at home for anyone else looking to give this a go. To open the discussion and bring in other peoples’ experiences and perspectives into this article, I also surveyed other musicians who record at home. I’ll be sharing some of their insights throughout this guide.
Why record at home?
In the survey, surprisingly, cost was not the most common reason given for deciding to record at home. 70% of respondents said they wanted to ‘gain experience and knowledge of music recording and production’. More musicians are becoming interested in taking control of the full creative process. Convenience and the Covid-19 pandemic has also encouraged people to give home recording a go.
Shopping list
To be able to record decent quality music, you will need some vital bits of equipment and software including:

- A microphone
- A laptop/PC
- Headphones
- A Digital Audio Workstation (DAW) such as Logic Pro X to record and mix your music
- An audio interface (this helps connect your microphone to your computer)
- An XLR lead (that connects your microphone and audio interface)
- A pop shield (optional – but highly recommended for singers – make your own with an old pair of tights over a coat hanger!)
- A microphone stand (it’s a lot easier than holding a microphone!)
I would recommend looking for deals on music tech retailer Sweetwater. [And I would add to also try Andertons, a nice independent business who offer really good 0% finance deals –Cassie.]
Which microphone should you buy?
Interestingly, there was a very clear consensus on the best microphone to use among the musicians I surveyed; there really are just a few reliable and trusted players out there:
The Rode NT1-A

This is a superb cardioid for musicians on a budget and the microphone I used to record vocals and acoustic guitar for my second EP so I can vouch for it. [I’ve got one here too and I love it! – Cassie.] The sound is clear and crisp with no fuzz or hiss. You can purchase these online for under £150 and it comes with a shock mount and pop shield.
The Shure SM58

This was the second most popular choice in the survey. If you’ve ever gigged before, then you’ve probably used this microphone. This dynamic microphone is robust, strong and can handle pretty much any sound you throw at it. This makes it perfect for rock and punk acts. If you are recording more delicate music, then skip this one. You can purchase one for around £85.
The Shure SM57 (for guitars)

The Shure SM57 is a renowned and popular dynamic microphone, particularly for guitar and other instruments and can be bought online for £99.
Shure SM7B

I didn’t know much about this microphone but since I started writing this, I keep seeing it mentioned, including this article that rates it as a top choice for beginner studios, with excellent value for money. It’s a cardioid dynamic vocal mic that has been used by artists as varied as Bob Dylan, Metallica and Sheryl Crow. It is a versatile mic that can be used to record vocals as well as instruments.
I would also personally recommend using a kaotica eyeball around the mic for a more pro sound.
Which headphones?
If you are on a really tight budget, any headphones will do. It’s best to get a pair that at least have a long lead and do not leak out sound. So many times I have used a leaky pair and heard the metronome picked up in my recording, which was very annoying. Wireless headphones can cause latency (delay in recording), so I wouldn’t advise these.

If you want to be more professional, then there are specific headphones you can get for the studio. Why? Well, studio headphones offer a flat frequency response. Unlike consumer headphones, they don’t try to jazz up your music and create their version of what an ideal sound is, so no bass boosts or sparkly trebles, you’ll hear the music exactly as it is. We recently purchased a pair of Shure SRH440’s for £50, which are comfortable and do the job.
Some similar options include Sennheiser HD280 Pro (£70) and Sony MDR-7506 (£87).
And audio interface?

An audio interface is basically a little box that you connect up to your microphone/ instrument and computer. The only audio interface I will recommend here is the Scarlett Focusrite 2i2 as it’s what we and countless of other musicians I’ve spoken to use. It’s perfect for beginners and you can grab one for £160 online from various shops.
Which room should you record in?
This is of course dependent on how much choice you have! A dedicated studio space is ideal. But if, like me, you don’t have the luxury of a dedicated studio, you’ll want to set yourself up in a quiet room that fits all your equipment. For me, this was my bedroom.
Wherever you record, ideally you want to choose a room that will allow you to capture a dry recording (a recording that doesn’t pick up that ‘room’ sound). So a room with soft furnishings like carpet, cushions or a bed that absorbs sound is a good idea. It’s no surprise then that our survey shoed that, after ‘dedicated studio room’, ‘bedroom’ and ‘living room’ were the most popular options of rooms to record in.
Despite what Reddit tells you, please don’t set your mic up in a wardrobe of clothes. You will end up with a boxy sound. Sticking your microphone in the middle of a furnished room is more likely to give you the best result.
Getting Started
Everyone records in their own way, depending on the style of music, how many people/instruments are involved, and a million other factors, but for those of you recording a ‘standard’ guitar-based song, here’s how LOUD WOMEN’s Cassie Fox goes about laying down tracks:
- Decide what tempo the track is going to be. Different DAWs have useful ways of helping you set tempo – you can either type in a number of BPM (beats per minute) or your DAW might have the functionality to set the tempo based on your tapping out a beat on a button. Check out this reddit for some beautiful BPM analysis by genre. If you’re in a punk band, skip this petit bourgeois nonsense and go straight to recording the damn thing as fast as it needs to be.
- Drums. If you’re recording your own drums at home, god speed you (and your neighbours). That’s only really feasible for those fortunate enough to have their own home studio, ideally at the end of a long garden. If that’s not an option for your drummer, before you reach for the electronic kit or the pre-programmed ‘robot’ drumming options, consider buying in a drum track from a drummer. Plenty of professional musicians can’t tour at the moment and could really use the work – and your music might end up a whole level up. I’d personally recommend Smiley at Sunshine Studios – one of the best drummers in the world, and the goodest of eggs. Good drums are so crucial. Having said that …
- If you’re not using drums, set a click track at your chosen BPM and have that playing in your headphones while you lay down your first instrument. Playing to a click track is tricky to get the hang of (and even harder to say), but it’s pretty essential if you’re working remotely with bandmates, so keep practising. (Again though, punx may choose to ignore this restrictive nonsense and move to 4.)
- If you’re recording one instrument at a time, it’s often a good idea to do the bass guitar first after the drums, then the guitar/s can build on that, and then the vocals on top. If you’re lucky enough to be under the same roof as your band, recording ‘as live’ (i.e. all playing together at once) is doable so long as you have all the equipment needed – extra headphones, and extra inputs in your audio interface.
- Get comfy, have a bottle of water handy, and hit record straight away – you just know that the best take will be the one where you were ‘just practising’ and hadn’t bothered to record. When you make mistakes, keep going – you can drop in afterwards and ‘overdub’ or fix sections. Don’t exhaust yourself trying to get it perfect. The beauty of home recording is you can come back to it after as many tea breaks as you like. Remember that many bloopers can be fixed in the mix. Also remember that a passionate performance stomps all over a technically perfect one every time.
- If your band is working remotely, this might mean a lot of sending stems (the individual track recordings of each instrument) back and forth – maybe a shared Dropbox could help. You could even set up a Zoom meeting on a separate device or phone, so your bandmates can hear you recording your parts and cheer you on. It’s not the same as spending time working closely together in a studio, but it’s the next best thing these days!
- Once you’ve got the basic structure of the song recorded – the rhythm, the guitar, the main vocal – you can then drop in to record the extra fun bits like synths, brass, cowbells, hand claps (an essential, IMHO), and backing vocals. More is more. (And you can always just not use it in the final mix.)
- Record backing vocals in separate tracks. And if there’s noone else around, back yourself – why not. You (or a clever engineer) can fix it in the mixing process so that your main vox is distinct from the backing vox. Fun fact: Enya had 500 of her own vocal tracks on one song, Angeles – and she sang every single one of them, no copying and pasting.
- Have a cup of tea and congratulate yourself on a job well done (even if it’s not quite done yet). Your musical masterpiece is recorded and ready to be mixed!
Which DAW should you use?
There are so many options to choose from so answers were really mixed, but here are some of the main DAWs for Mac and Windows. I will break these into Mac-based software and Windows-based software. I’m not that technical, so I won’t go into lots of detail here, but I recommend doing your own research prior to purchase. Ultimately, most DAWs will offer similar features and only vary on a few features and UI/workflow.
For Mac users
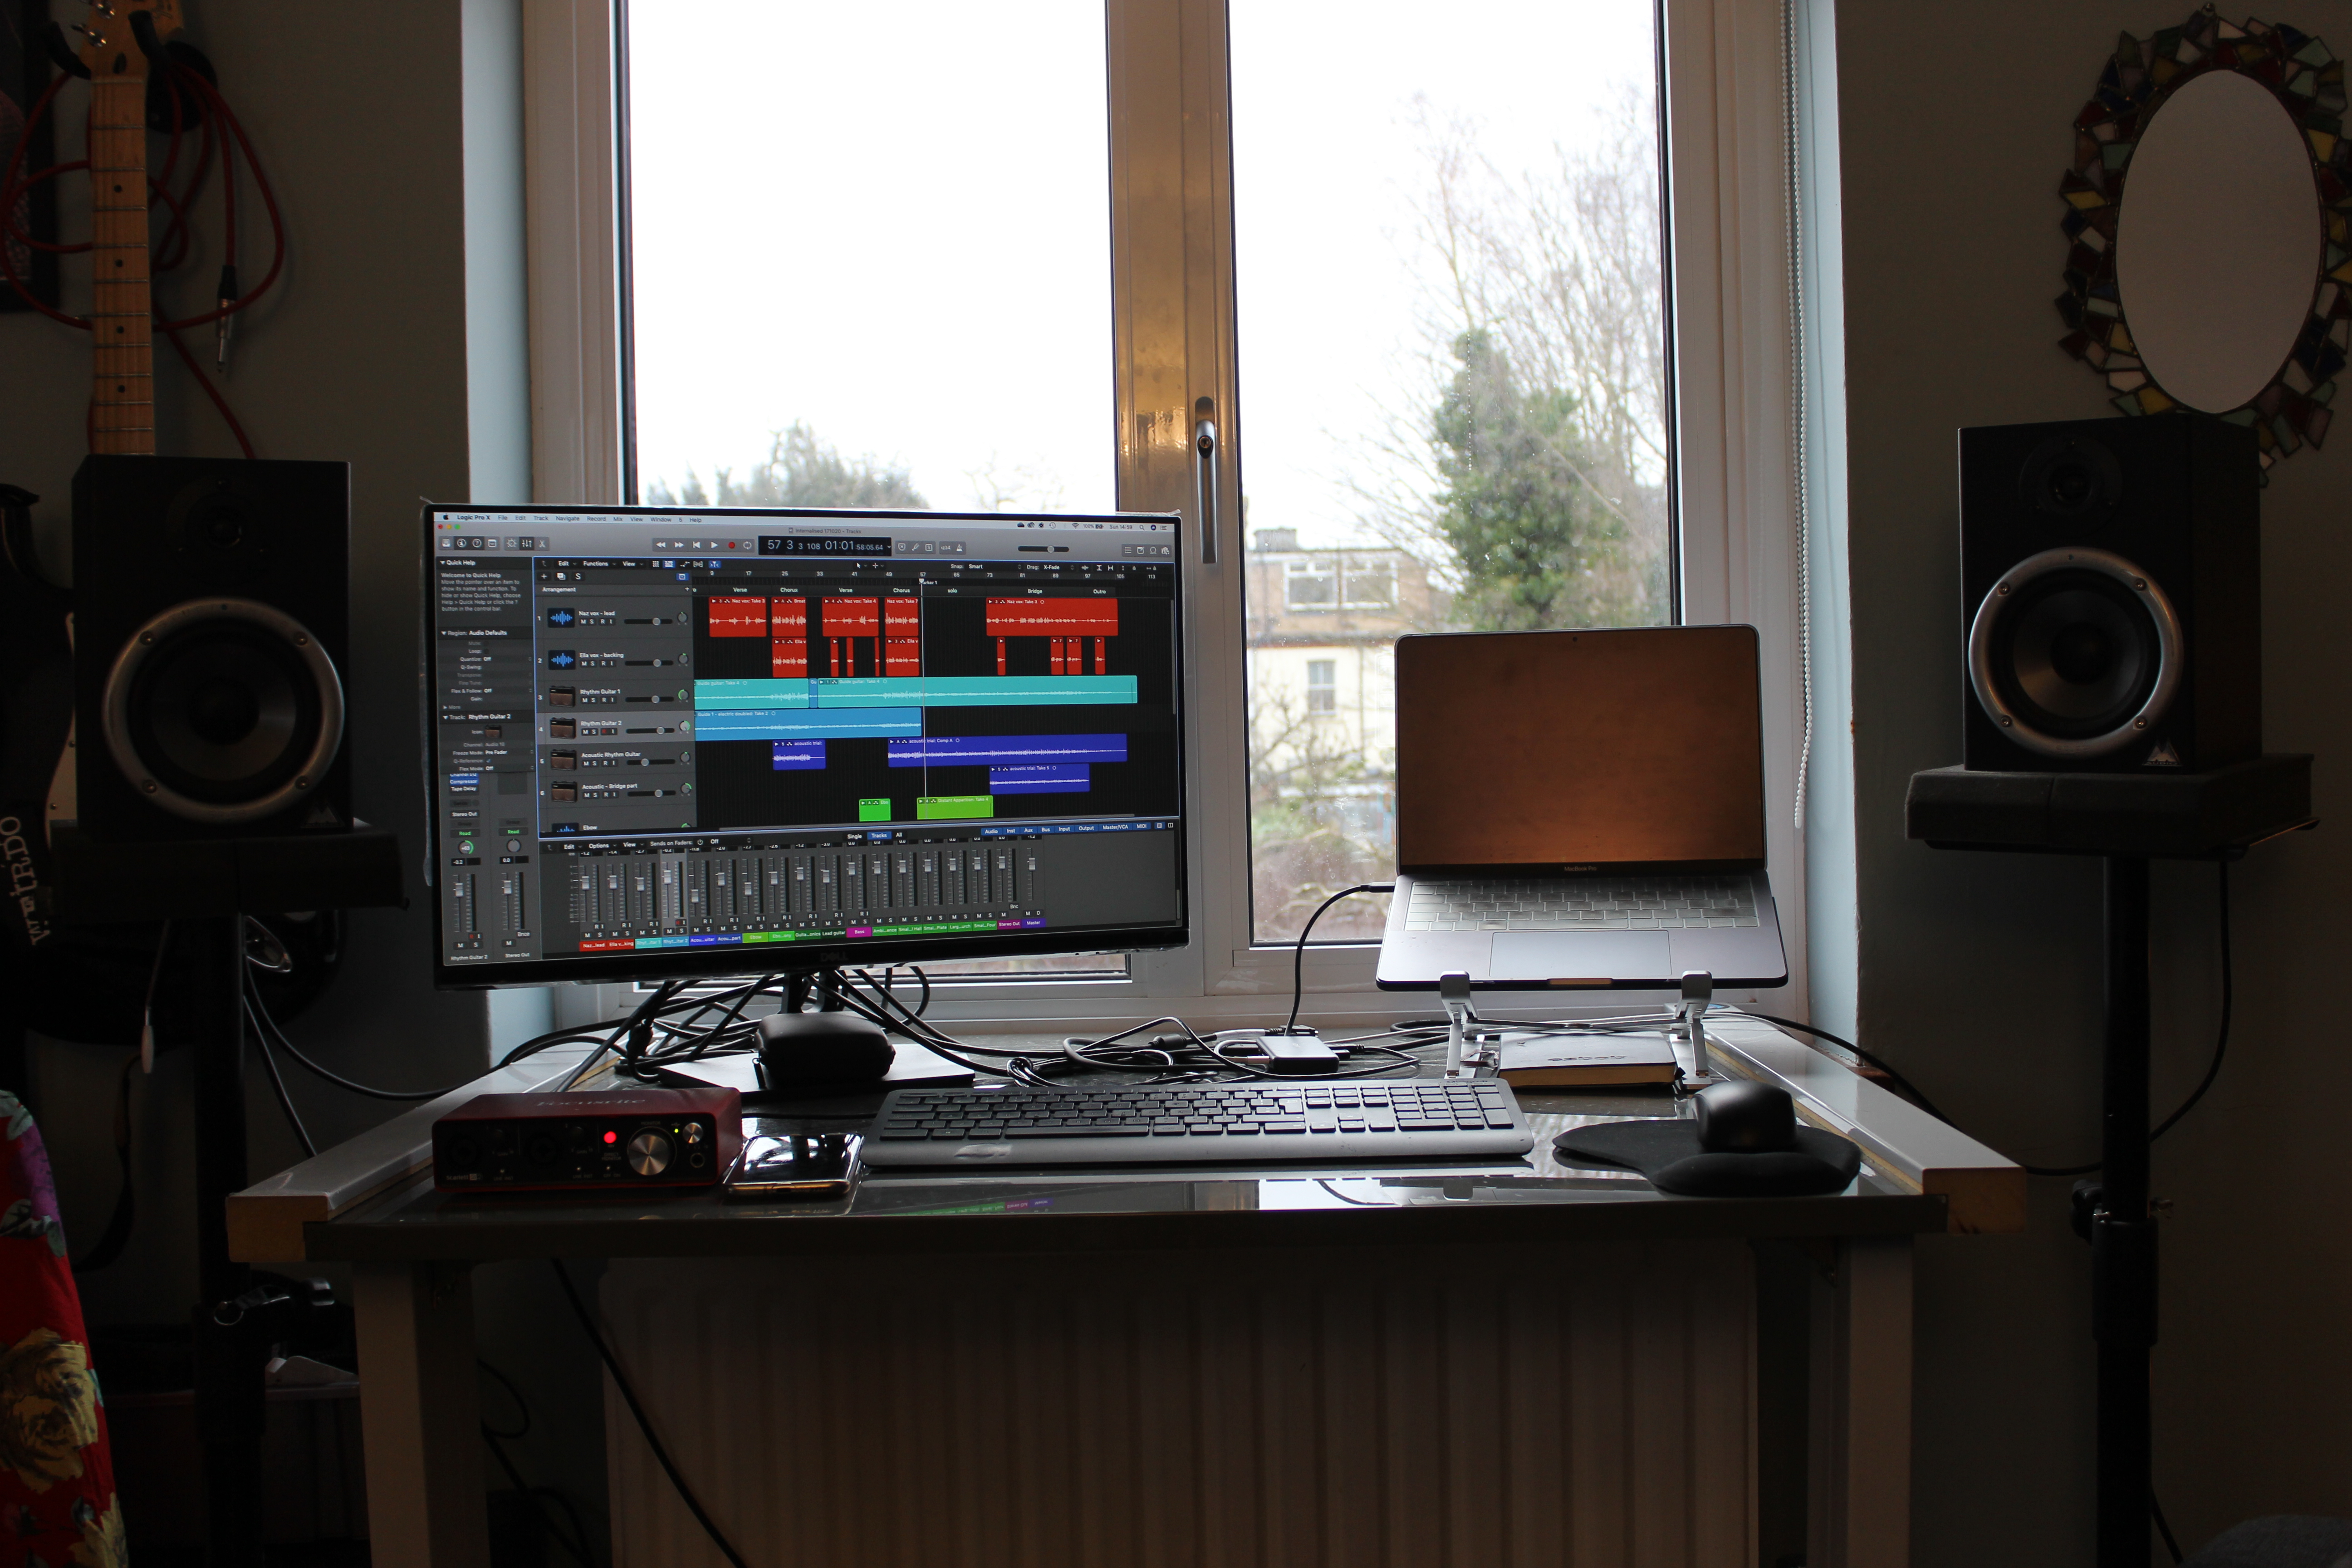
Logic Pro

This was by far the most popular choice. It’s what we use and I highly recommend it as you pay a one-off price of £199 and it has a very clear interface which is easy to get to grips with.It also has many features and plug-ins for more advanced mixing and production.
Garageband

Another popular choice. Garageband is the free version of Logic that comes pre-installed in Macs and is a great option for total beginners as it has a clear interface without too many features to get your head around. [This is what I use to record demos and podcasts in! –Cassie]
For Windows users
Ableton Live

Available on Mac and Windows. Basic version £55, Standard is £255, and £431 for the full suite. Compare editions here. I’ve never used it, but from reading around online the workflow is simple and it’s apparently a great software for electronic music makers.
PreSonus Studio One

This was popular among respondents. From some research, it is a reliable and easy-to-use DAW. They have a number of tiered pricings from a free version up to a pro version for £344.
Cubase

Cubase is the first DAW I ever learnt to use and I would also recommend it for Windows users. Admittedly the interface is not as clean as something like Logic, but it’s still a very reputable choice and you can purchase it at a reasonable cost depending on your needs as it has three tiered prices ranging from £85 to £499 for the full package.
Mixing and mastering
For the last Naz & Ella EP, we sought the experience of a professional for both mixing and mastering. Although we’ve both done A-Levels in music technology, we lacked the ear of a professional and put budget aside for this. Being able to mix and master to a professional level takes years to perfect, and if you’re on a deadline – like we were – doing it alone may not be the best use of your time. It’s worth noting that this significantly added up and was the most expensive thing we put money towards, though for our needs, it was still the best decision we made. Plus, we had saved a lot on recording ourselves.
If you want to find a good professional to work with, ask for recommendations on the LOUD WOMEN group. You could also try getting in touch with the OMNII Collective. We used Dan Lucas of Anchor Baby Recordings, who has worked with Berries and Salvation Jayne (for which he is the bassist). [I would personally recommend Jon at One Cat Studios who is also the drummer of Hurtling – he’s a miracle worker! –Cassie]
Whether you go pro or do it all yourself is really up to you. It will depend on how much time you have to dedicate to it, how good your ear and mixing skills are, what you actually want to do with your music (i.e. if you want excellent quality radio-ready recordings, your song will need to be professionally mastered). However, for those wanting to do it themselves, there are hundreds of videos on YouTube to help beginners. Here are a few to start with:
- EQ Cheat Sheet (A chart that maps out frequencies of different instruments)
- The best EQ advice I’ve got (YouTube video)
- The best mixing advice I can give (YouTube video)
Advice from other artists
I asked musicians who filled out the survey what advice they’d give to musicians thinking of recording at home, and here are some of the key themes:
“Do plenty of research”
It really is a minefield at the start as you learn about different equipment, software, and techniques. But the beauty of the internet is it’s all there to be researched. I used Reddit and Facebook recording groups for insight. If you’re prepared to invest big, ensure you do enough research first – the most expensive piece of equipment isn’t necessarily the best. Here’s some useful links
- Musician on a Mission (useful recording blog)
- Recording acoustic guitar (YouTube video)
- 7 Essential vocal tips (YouTube video)
“Use books and YouTube to learn – but doing is the best learning”
We watched hours of YouTube videos which helped massively, but the most important and useful learning you can do is just by getting stuck right in. You’ll improve very quickly through trial and error, especially with things like mixing which is ultimately an exercise for the ear.
“Learn a bit at a time – don’t overwhelm yourself”
Just focus on learning one thing at a time – whether that’s the best way to record vocals, what proximity effect is, or setting up recording templates on your DAW. Cramming in information will just cause overwhelm.
“Be patient”
I’m not going to lie to you – recording can get super frustrating. There were many days where we doubted what we were doing. Was it good enough? Will it sound too amateur? A bit of perseverance goes a long way and you will get through any doubts in your abilities.
“Start small/cheap and go from there”
We started recording with a humble USB microphone that cost £50 to record a few demos, and even though it wasn’t the best mic, it was a great beginner mic to use as we familiarised ourselves with recording at home. Don’t dive in and spend £500 upfront if you’re a beginner – start small and upgrade gradually.
“Just do it”
If you are thinking about recording at home, I seriously recommend taking the plunge, I promise you won’t regret it. There is a supportive community on the LOUD WOMEN group that can offer any advice you may need. If you have any follow-up questions, feel free to email me ellapatenall@gmail.com
Happy recording!
Recording Terms Glossary
DAW (Digital Audio Workstation)
The software you use to record your audio into, where you can add effects and control the output of the sounds. These are large bits of software that take up a lot of RAM on your computer but are essential for home recording.
Audio interface
This allows your microphone to be connected to your computer. Unless you have a USB microphone (a ‘plug in and go’), an audio interface is essential.
Condenser microphone
Condenser microphones are more sensitive and delicate microphones that are typically used for vocals, acoustic guitar and other acoustic instruments. You would only use them for recording rather than live performance. They are more expensive than dynamic microphones.
Dynamic microphone
Dynamic microphones are robust and can handle loud sounds and high frequencies and are typically used for live performance and the recording of drums. They are cheaper than condenser microphones.
Pop shield
A device that stops your recording from picking up plosives (harsh vocal consonant sounds), or sibilance (harsh ‘sss’ sound which causes unpleasant hiss).
Mic cradle/shock mount
The best way to describe this is a metal ‘nest’ device that your microphone sits in. They are useful as they are stable and reduce rumble from floor movements, such as you tapping your foot.
Cardioid microphone
A microphone that picks up most sound from the front, some from the sides, but none from the back (making a heart shape).
Dry sound
A recording with little-to-no reverb, usually created in a professional treated studio, or a room with lots of soft furnishings. This is ideal for recording as you want to be able to add these effects afterwards.
Reverb
Reverb is what gives your music a sense of space. It’s that echo-y noise you hear if you were to yell in a church. It really helps ‘lift’ recorded music and is an important effect to understand.
Mixing
This is the process of ensuring each part in your recording can be heard clearly by the listener, positioned where you want them (i.e in the left ear, right ear or both) and that no parts stick out as too loud. A mixer may also alter frequencies to create a warmer or more defined sound.
Mastering
This is the final process of recording which basically means adding that final sheen and sparkle to a finished mix (rather than the individually recorded parts). It ensures the track is ready for radio play and distribution.
Ella Patenall is a musician and half of alt-folk duo, Naz & Ella. She’s also interested in recording and production, music marketing, and sharing advice to other upcoming artists. Here’s Another blog I wrote on my own home recording set up